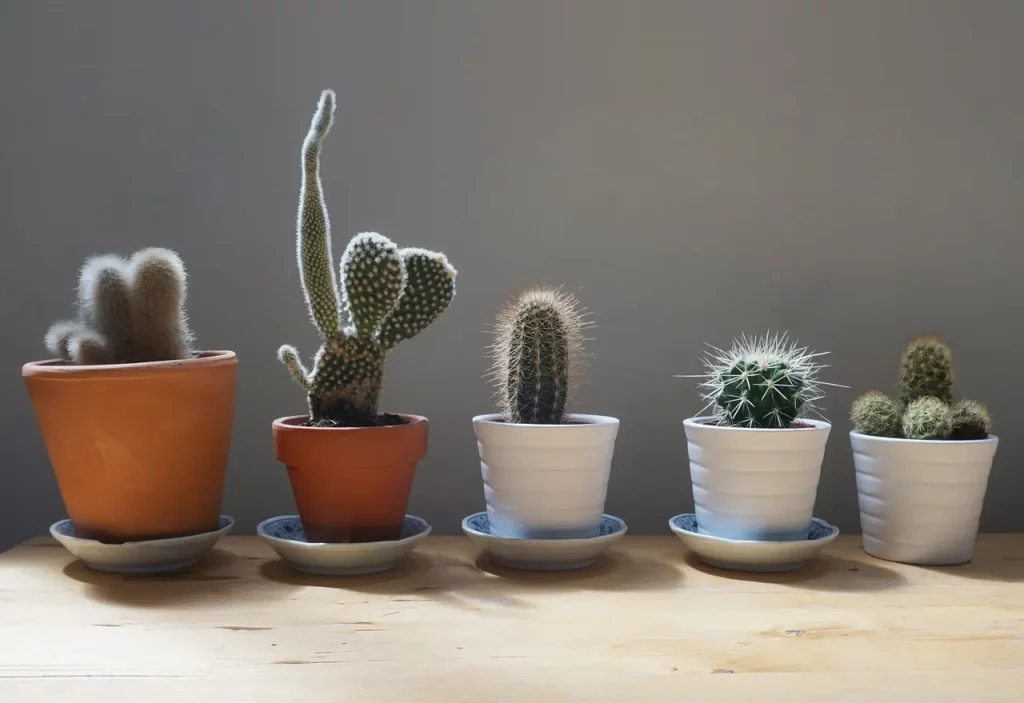
Growing cacti from seeds might appear intricate, but we assure you that it is a straightforward process. In this guide, we will demonstrate the step-by-step procedure, widely recognized in the cactus enthusiast community as the “takeaway technique.” While various methods exist for germinating cacti, we have found this one to be the most uncomplicated, cost-effective, and successful when dealing with a small quantity of seeds. This method has proven effective for germinating seeds of all cactus species we’ve experimented with.
Things You Need
- Soil: Our preferred choice of cactus soil is “Nurseryland Cactus Mix,” but M.M BASICS Succulent Soil Mix/Cactus Soil is a close runner-up. Other pre-made seed-starting mixes are acceptable. Just stay away from anything that has a lot of sticks and bark in it because fungus problems are far more likely to emerge in areas with these types of materials.
- A sieve or screen if your soil is full of sticks and bark;
- A clear microwave-safe takeaway container like the type you use for meal prep, If you’re germinating columnar cacti, try and find a container that has a bit taller lid.
- Some distilled water;
- Spray bottle;
- Some cactus seeds – we sell a few different varieties online;
- Patience.
Recommended but not required:
- A microwave
- peroxide (H202)
- A seedling heat mat/temp gage;
- A grow light.

Preparing your soil mix
If the potting soil you’re working with contains an abundance of sticks and bark, we strongly advise you to consider a method for separating or filtering them out. Sizeable sticks and bark within the soil act as organic sponges, elevating the likelihood of fungal growth. Additionally, it’s advisable to refrain from using potting soil saturated with fertilizers, as they can potentially harm young seedlings.
Fill your container and add water
Fill the takeaway container with your mix until it’s approximately half full. Use distilled water (as tap water may contain excess chlorine or the potential for algae growth) to moisten the mixture until it reaches its field capacity, ensuring even coverage. Field capacity signifies soil that is thoroughly saturated but without any surplus. If you squeeze the soil and excess water pours out, it’s overly wet.
Pasteurize the Soil
Gently position the lid on the container and microwave it for 5 minutes to sterilize the soil mix. After microwaving, remove it, fasten the lid securely, and allow it to cool down to room temperature over the course of an hour or two before proceeding to the next step. While sterilizing the soil is not an absolute requirement, we strongly advise doing so because commercial soil often harbors fungal spores and tiny insect eggs that may pose issues in the future.
Sow the seeds
Once your soil has cooled down, or if you’ve chosen to skip the previous step, you are now prepared to plant the seeds. Fill your spray bottle with distilled water, open the lid of the container, and evenly distribute the seeds across the surface. You can use a method like tipping the seeds into your palm, pinching them with your other hand, and then gently sprinkling them in rows, but feel free to use a technique that suits you. The key here is to ensure that they are evenly spread across the soil’s surface. Once all the seeds have been sown, provide them with a few spritzes of water to moisten the seed coat and secure them into the soil. Then, securely reseal the lid.
As a precautionary step, you can spray the surface of the potting mix and the seeds (at the time of planting only) with a 3% solution of hydrogen peroxide (H2O2). this will help eliminate any fungus or contaminants on the seed .
Light & Heat
To facilitate the germination of the seeds, it’s essential to maintain consistent light and warmth. The simplest approach is to place the container on a seedling heat mat beneath a grow light, with a mat temp between 75f and 90f we prefer about 85f. However, if you don’t have or prefer not to use a seedling heat mat, it’s best to wait until late spring or summer to sow your seeds, as they won’t sprout in soil that’s too cold. Similarly, if you lack access to a grow light, there are alternative options. You can germinate the seeds on a sunny windowsill or in a well-lit outdoor spot. If there’s a chance of direct sunlight, we recommend wrapping the container with shade cloth, a paper towel, or a thin fabric to shield the delicate young seedlings from potential sunburn.
Germination
Under the conditions of adequately moist, but not overly wet soil, consistent light exposure, and appropriate warmth, you can anticipate your cactus seeds to commence germination within 7 to 14 days. With the use of a grow light and heat mat, you might even observe some sprouting earlier. By the end of a month, the majority of the seeds should have germinated, although a few may continue to emerge in the subsequent weeks or even months.

Some Products
-
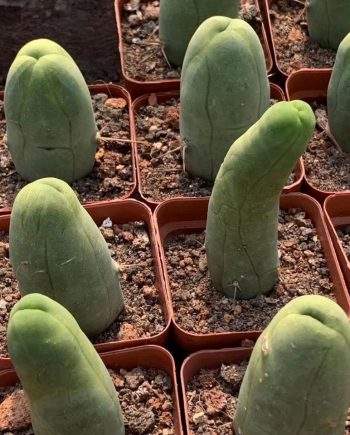
 Penis Cactus – TBM Clone B$37.00
 -
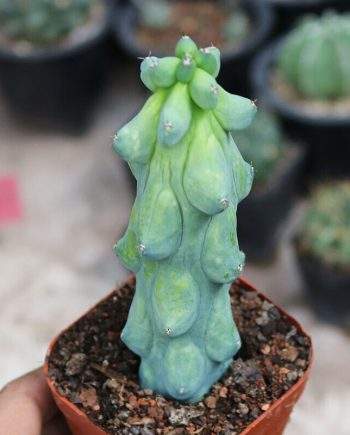
Myrtillocactus Geometrizans cv. Fukurokuryuzinboku$38.00
-
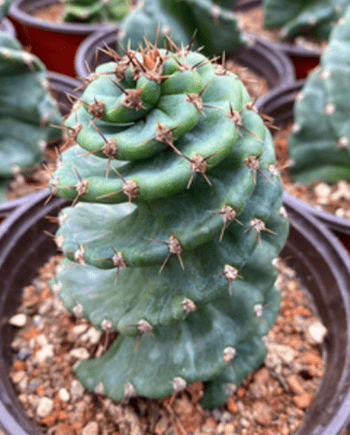
Product on saleCereus forbesii cv. SpiralisOriginal price was: $45.00.$42.00Current price is: $42.00.
-
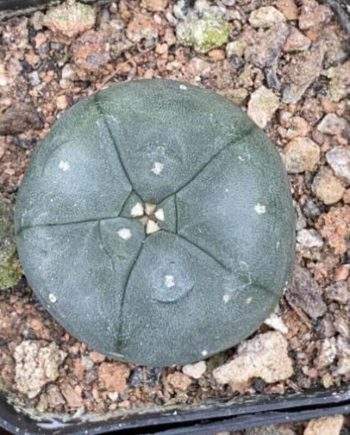
Lophophora williamsii 2cm-4cm$36.00 – $156.00
-
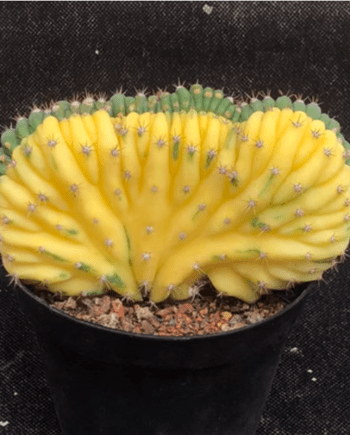
Trichocereus Pachanoi Monstrose Cristata Variegata (TPMCV)$62.00
-
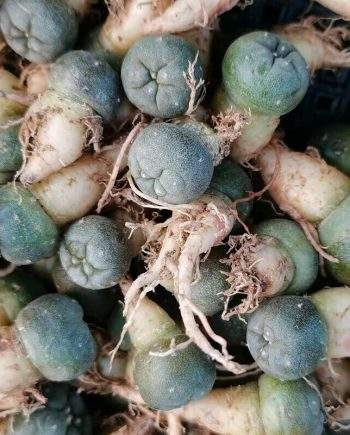
Lophophora Williamsii (Peyote) 1cm-2cm 5pcs$53.00
Leave them be!
If you heeded our suggestions and sterilized the soil, you can safely leave the seedlings in this container for up to six months (we recommend at least 3) or until they visibly outgrow the lid. It’s important to resist the temptation to open the container, as doing so would introduce unsterilized air and reduce the humidity.
However, if you decide not to sterilize your soil, you’ll need to be more vigilant. Open the container shortly after germination and ensure you regularly mist the seedlings to prevent them from drying out. Leaving the container sealed without soil sterilization is likely to result in fungal growth.
Acclimatising
Around 3 to 4 months into the growth of your seedlings, you can initiate the process of acclimating them to the open air. This involves removing and replacing the container lids, gradually leaving them off for longer durations over the span of a week or two. Begin with 5 minutes, then the next day extend the time to 10 minutes, the following day to 15 minutes, and continue this pattern, increasing the time each day. Progress from half an hour to an hour, and eventually, twice a day for an hour or so, until the lids are completely off. Initially, keep a close watch on the soil’s moisture and mist it with distilled water if it appears excessively dry. However, once the lids are off, you can transition to allowing the soil to dry out slightly between waterings.
Repotting
The ideal moment to transplant your cactus seedlings primarily depends on their growth rate, but as a general guideline, we typically repot them after 6–8 months. We transfer them into small individual pots or in small clusters if their roots have become entangled and we want to avoid damaging them.
When considering repotting your cactus, it’s advisable to do so during the transition from spring to summer, as this is a period of vigorous plant growth. To ensure your cacti thrive, use well-draining soil, as discussed in another article, and position them in areas with ample sunlight. Utilizing a cactus-specific mix is crucial for fostering healthy growth and providing optimal conditions.

If you opt to grow your cactus in a pot indoors, offering outdoor exposure during the summer can benefit the plant. Begin by placing the cactus in a sheltered outdoor location, allowing it to gradually acclimate to the environment before exposing it to increased sunlight. When transitioning the cactus between your home and garden, ensure it’s placed in an area that receives morning sun for the best results. Depending on the specific cactus species, you may need to use shade cloth to protect them from excessive sunlight.
Opuntia or Tephrocactus
Opuntia or tephrocactus, among the cacti species, possesses a highly resilient seed coat that effectively prevents the entry of gases or water. To expedite their germination, it’s necessary to abrade/scrape and soak the seed’s surface. This process involves soaking the seeds in lukewarm water for several days, and changing the water daily. Once soaked, carefully remove the seeds and scarify the seed coat by creating a small opening or chipping it using sandpaper, a small knife, or even your fingernail.
Next, combine the scarified seeds with moist cactus soil and store them in the refrigerator for a duration of 60 days before planting. Maintain the soil’s moisture at a moderate level until germination.
Alternatively, you can stratify the seeds by placing them in the soil in the freezer or exposing them to outdoor winter cold for a period of 4 to 6 weeks.
Once these preparatory steps are complete, treat these seeds like others started above plant the seeds on a moist seed starting mix with good drainage and cover them. It’s essential not to bury the seeds, as they require light for sprouting.
Regarding spacing, initially, keep the seedlings approximately 1 inch apart in pots until they reach the age of one year. To provide support for the seedlings, use small pieces of pumice, and retain them in the same pot for the first year. After one year, you can transplant them into larger individual pots.
Quote – “A cactus doesn’t live in the desert because it likes the desert; it lives there because the desert hasn’t killed it yet.”
Hope Jahren
Safety measures and best practices for handling cacti are essential:
- Handle with Care: Always treat your cacti with caution, as their spines can easily stick to your skin and cause injury.
- Protective Gear: It’s advisable to use gloves or wrap your cactus with thick newspapers or pieces of packing foam when directly handling the plant to shield your hands and minimize the risk of spines penetrating your skin.